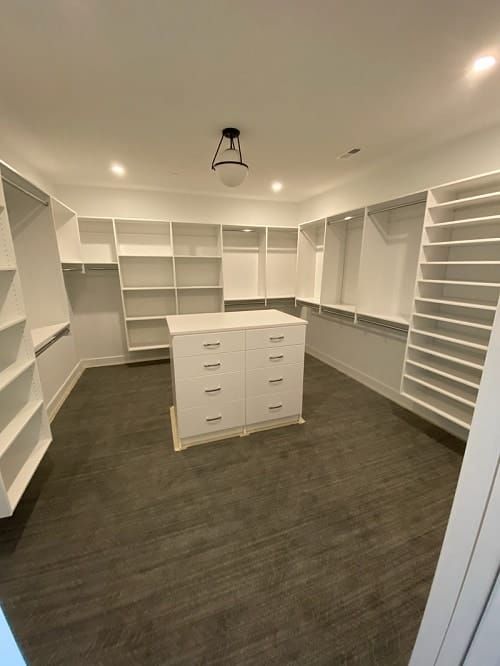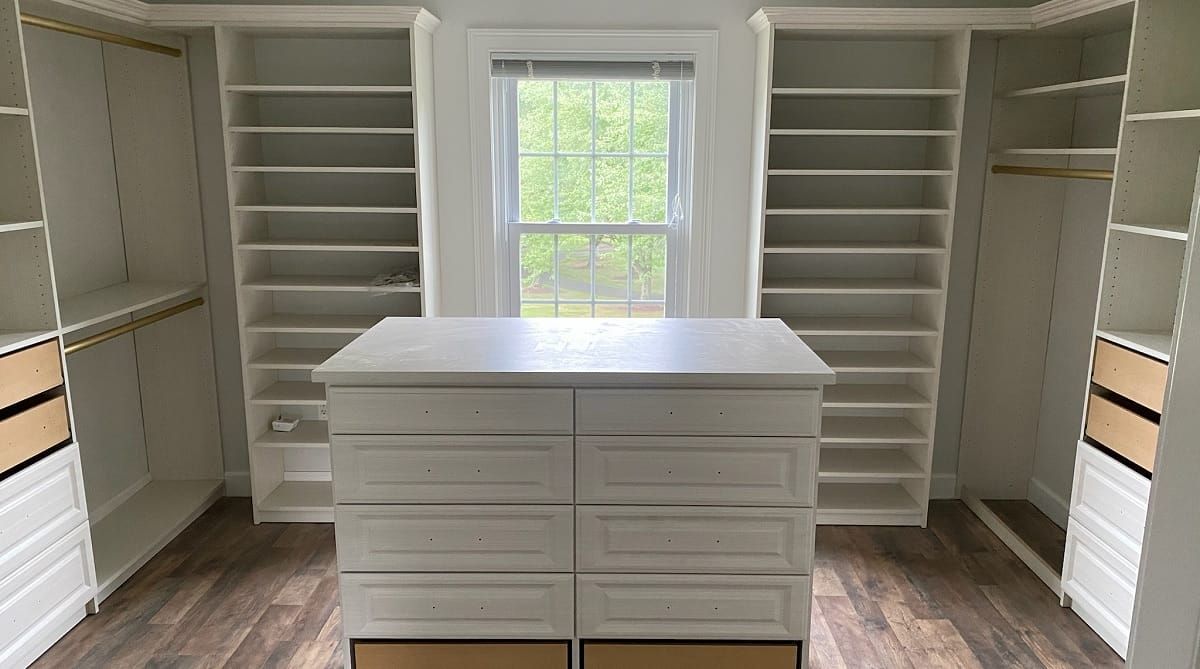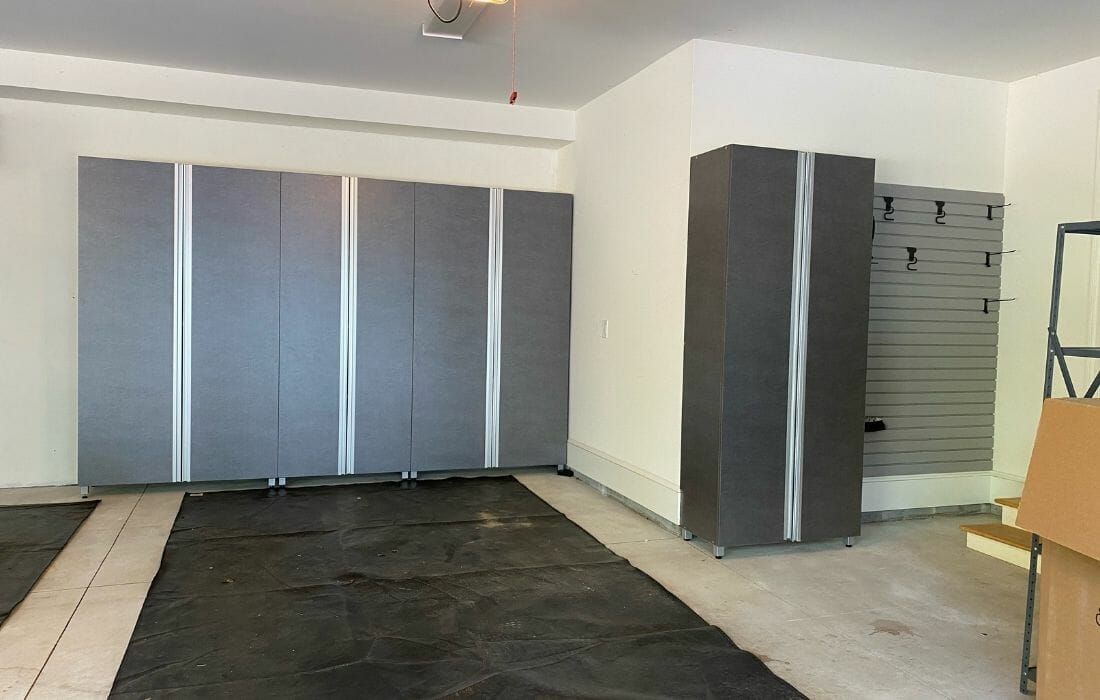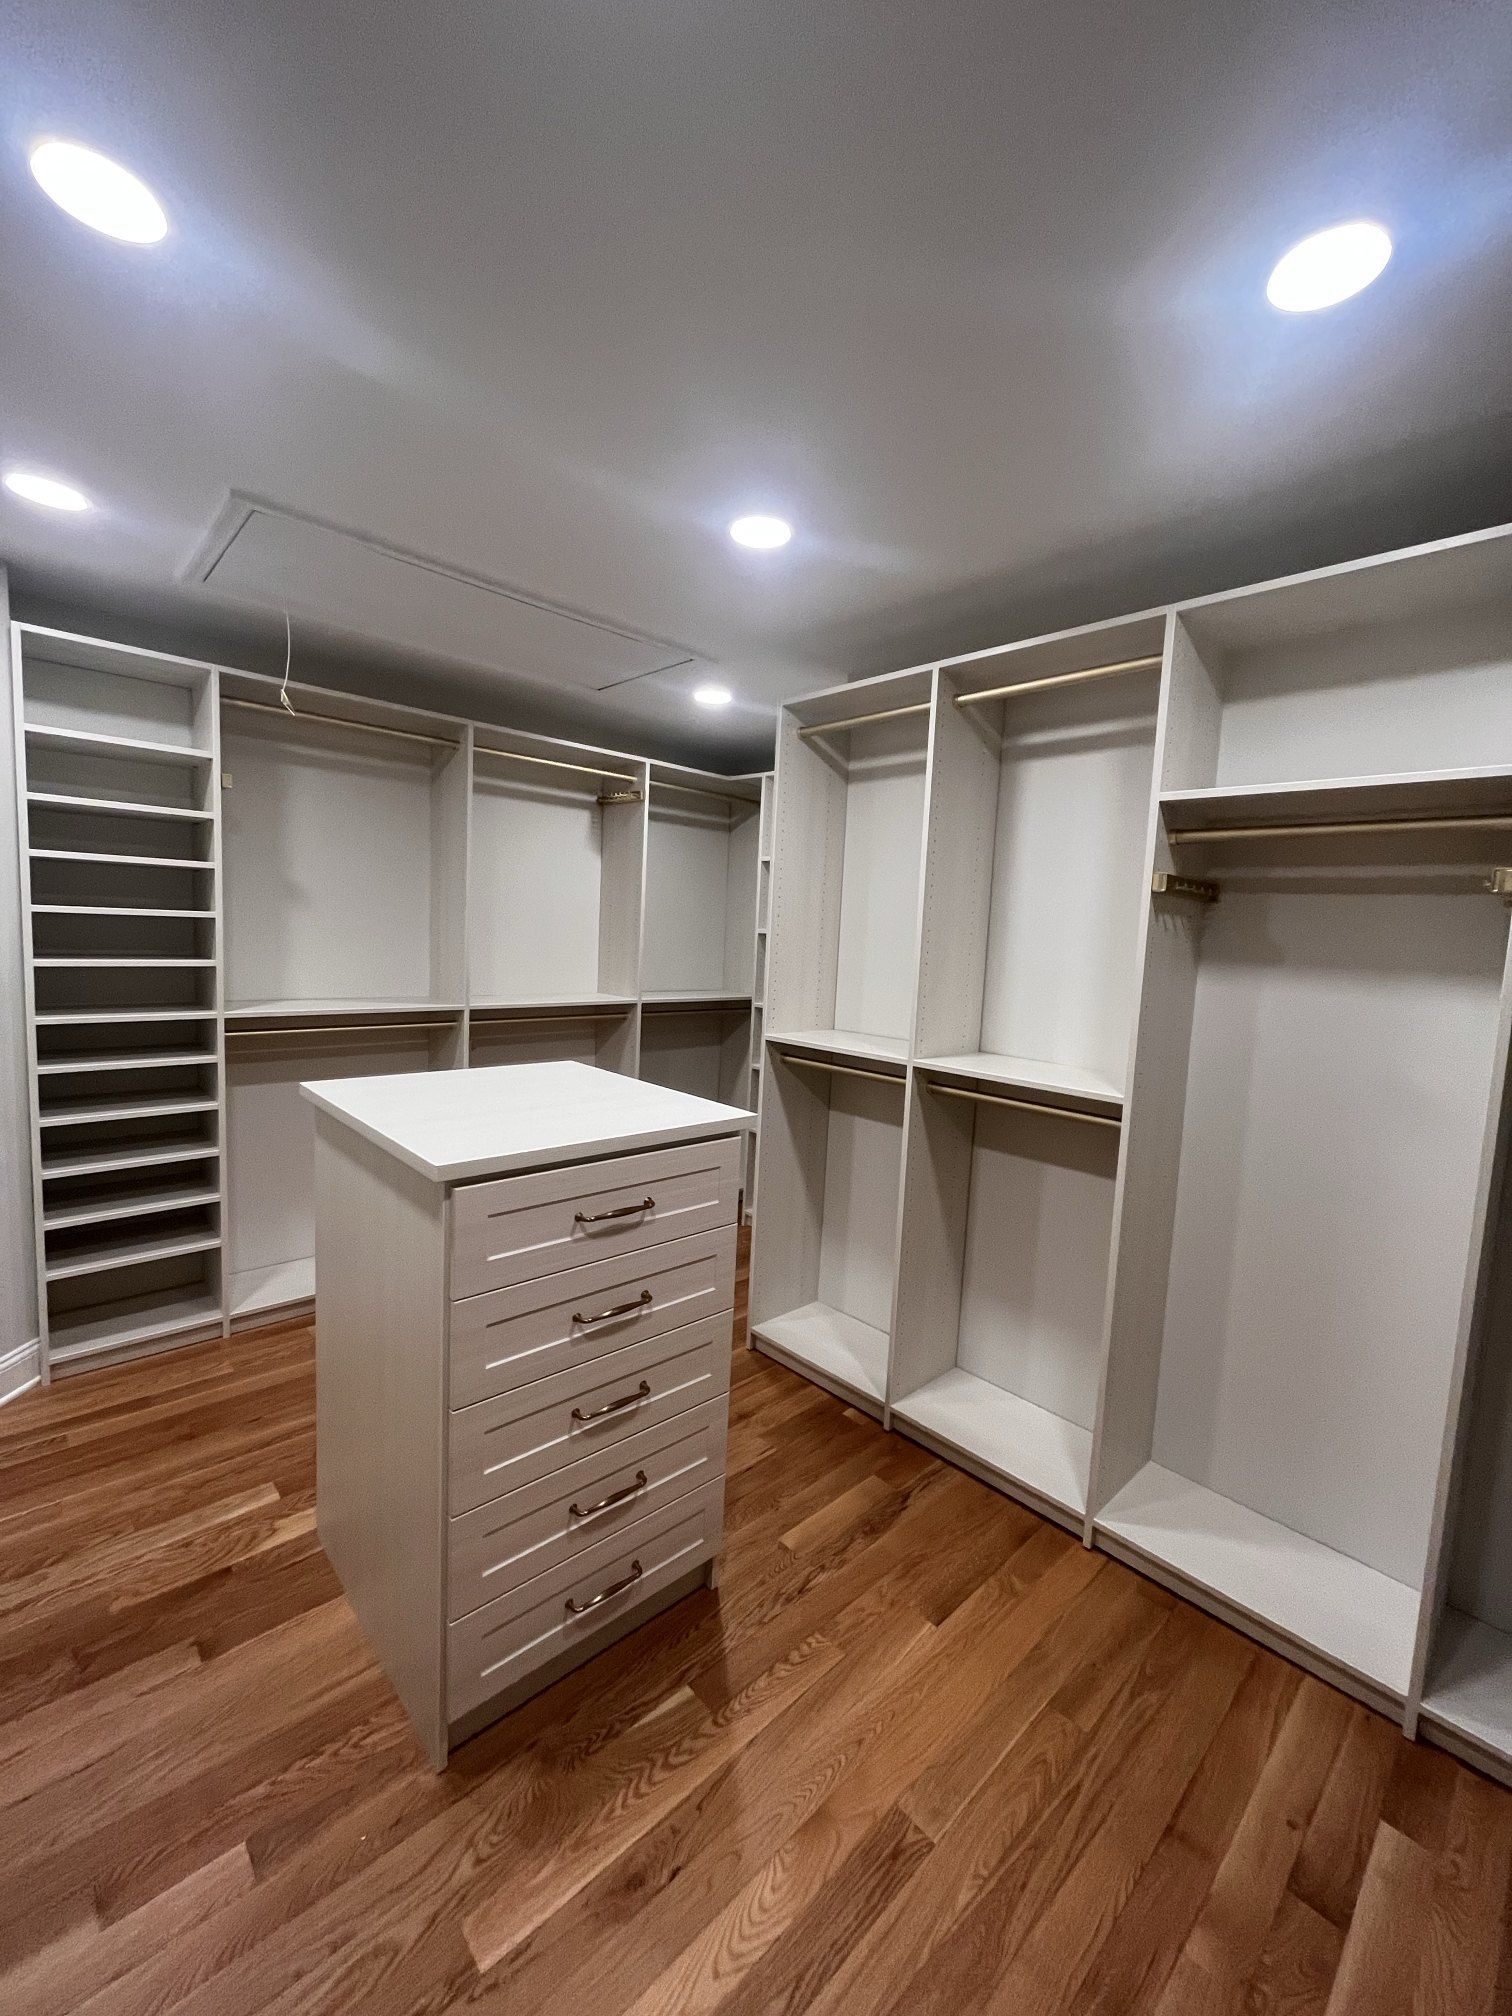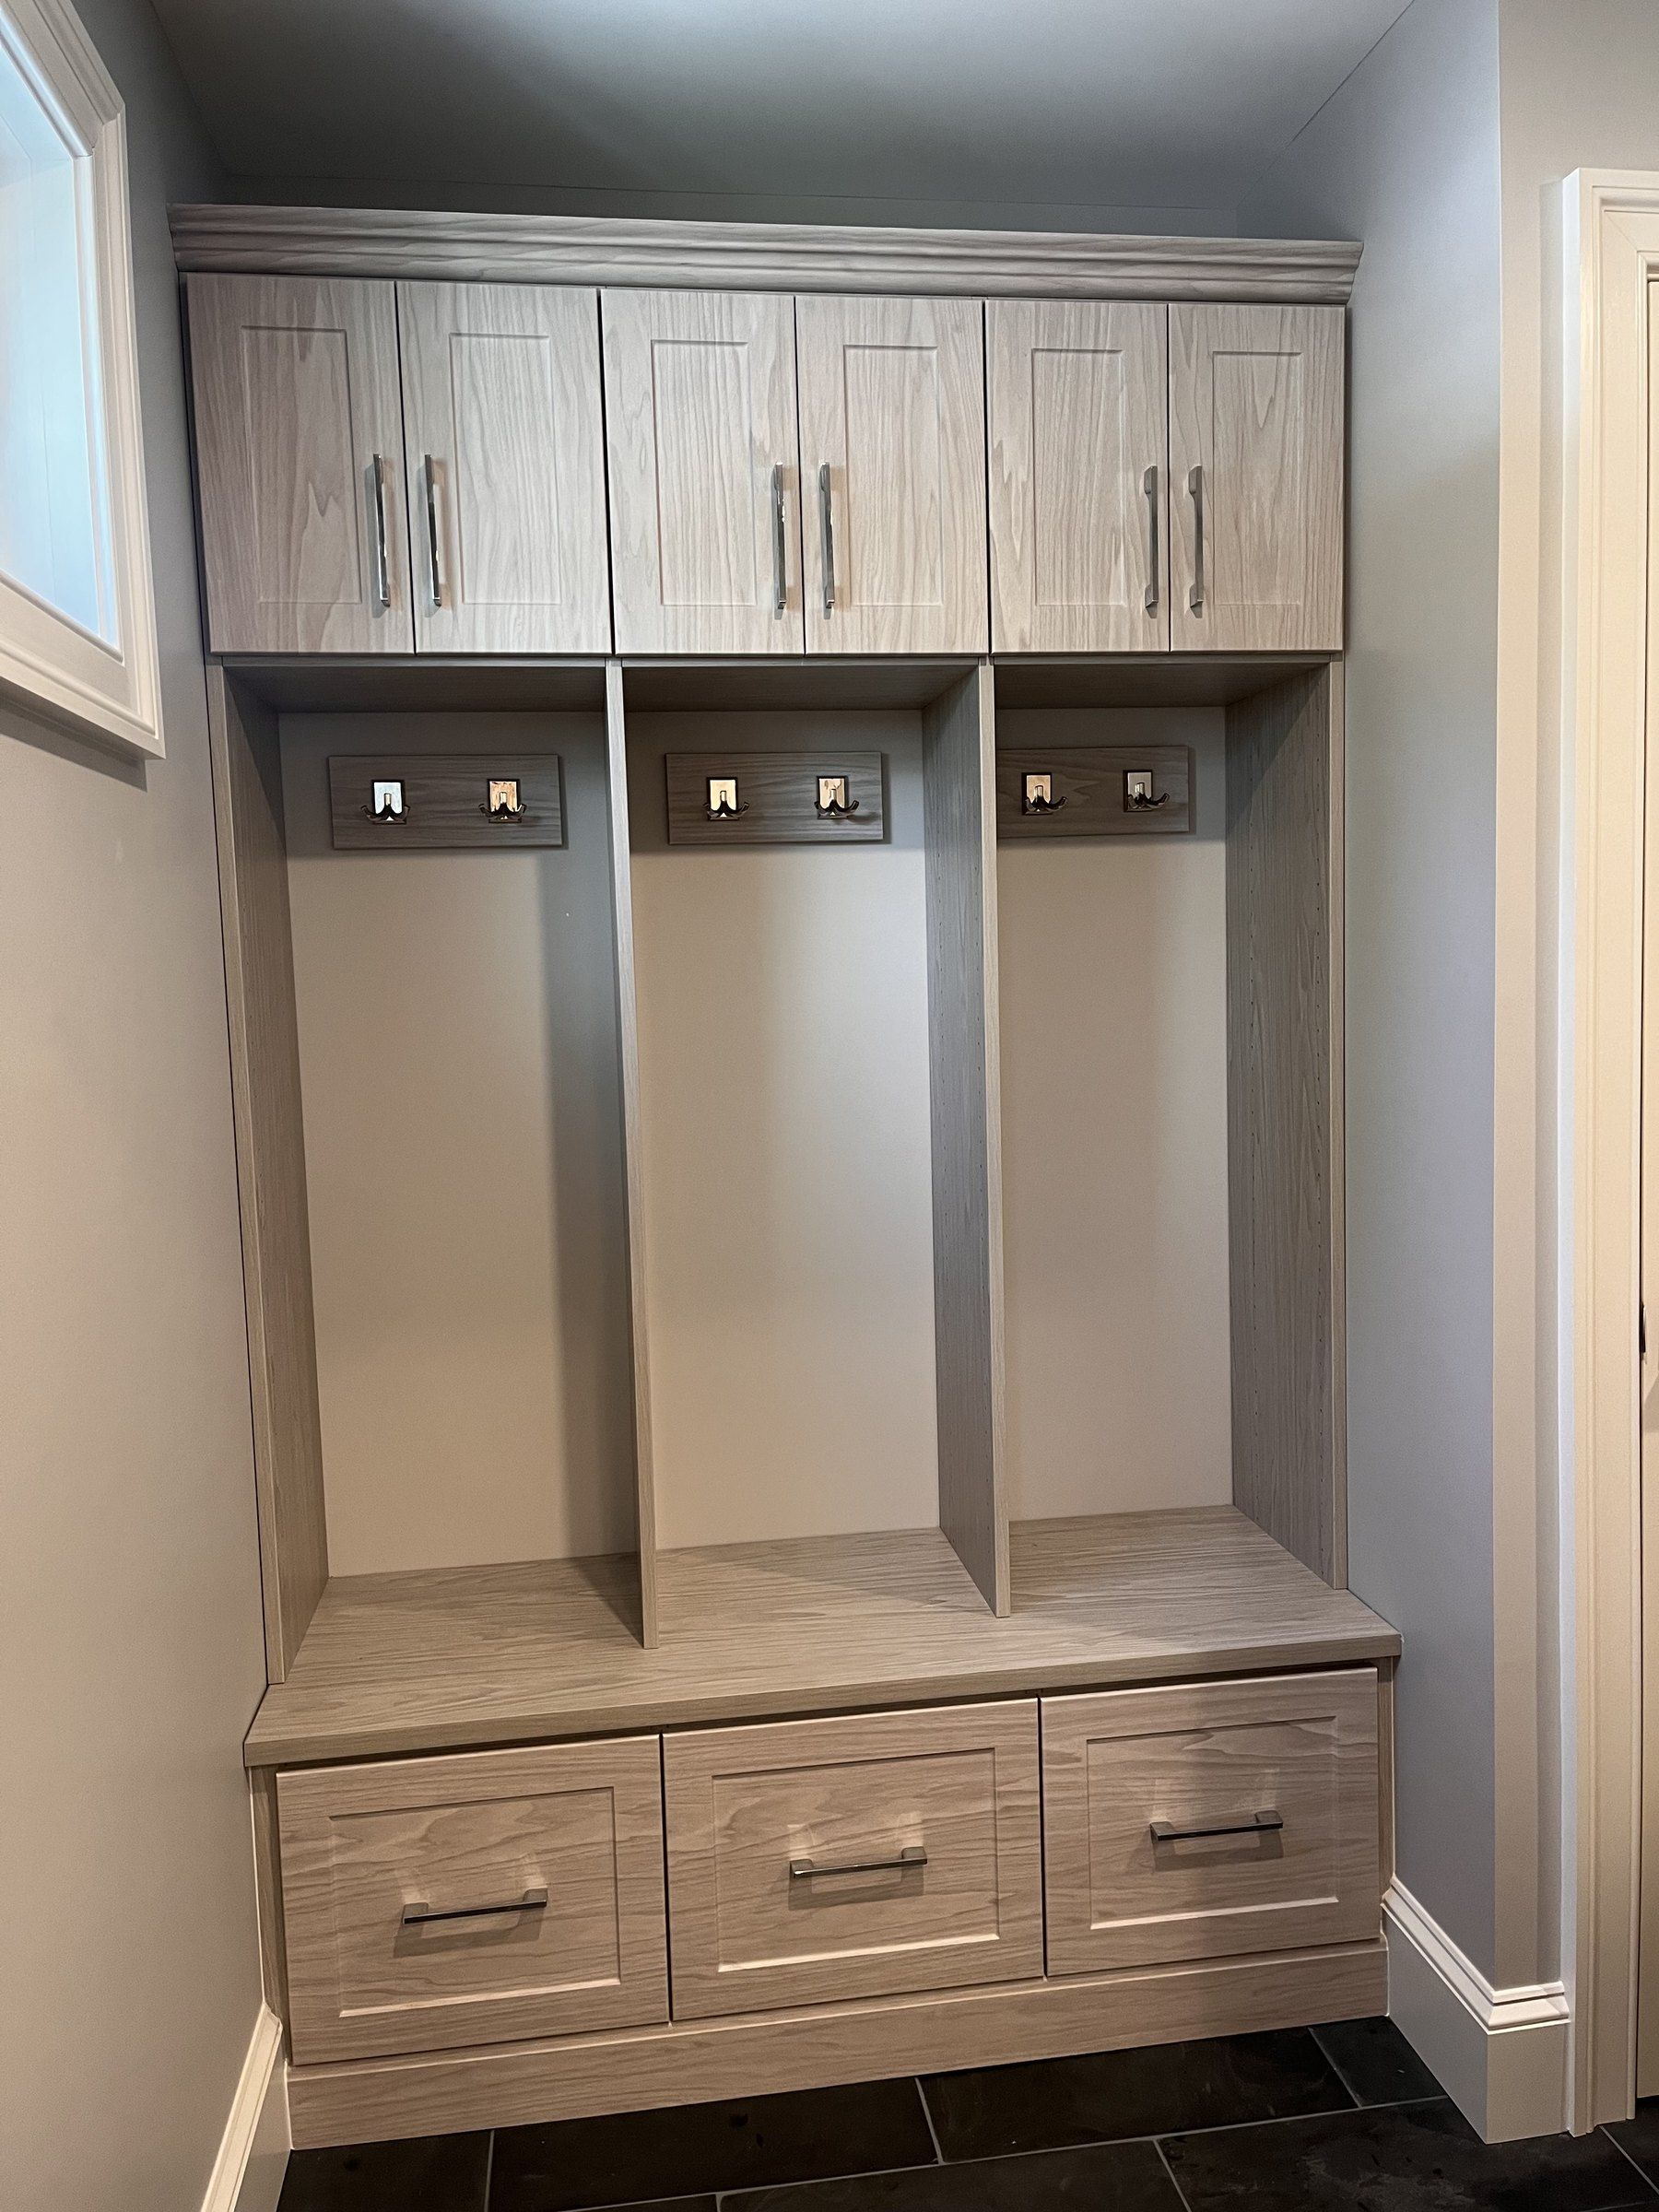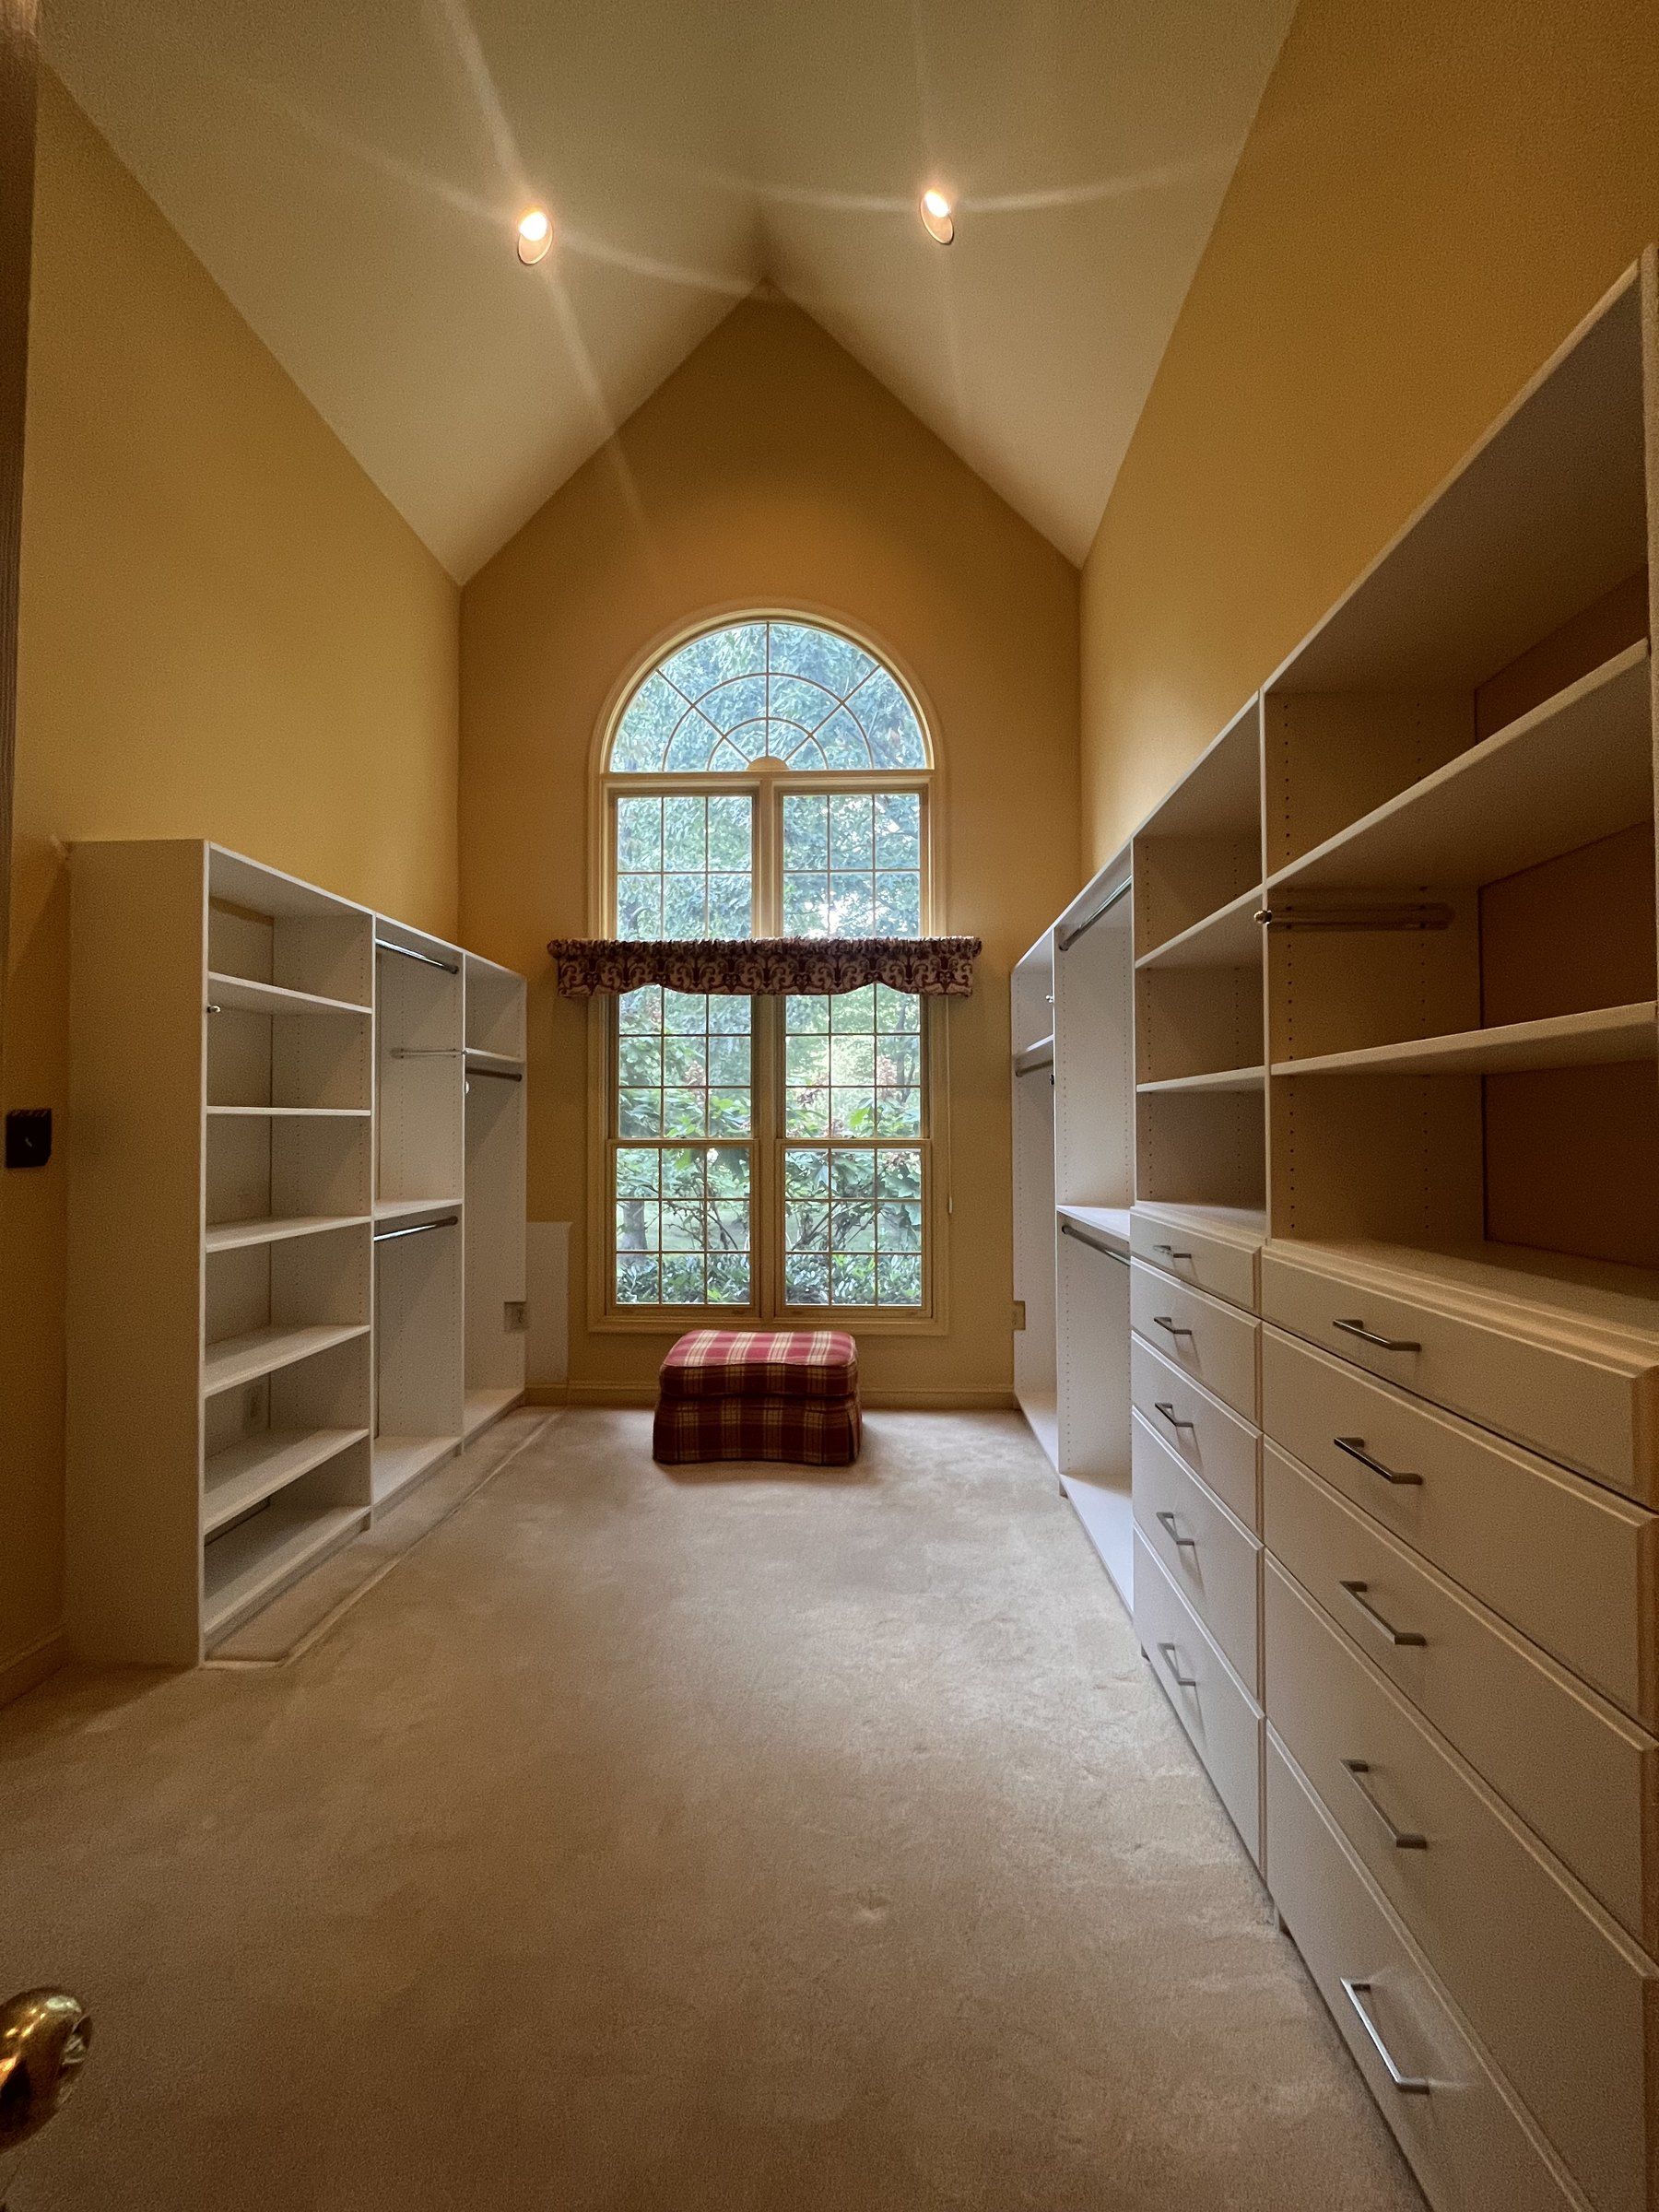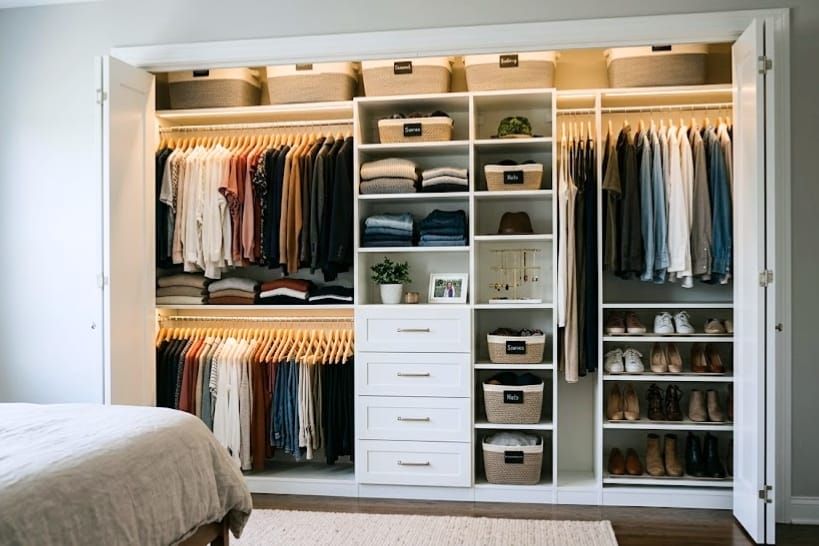
Installing a closet organization system comes down to four things: knowing what you need to store, measuring accurately, mounting into something that will hold the load, and leveling every part before you fill it. A modular kit in a simple reach-in is a fair DIY project; for custom layouts, drawers and walk-ins, Bucks and Montgomery County homeowners call Closets For Less, which installs with its own team.
This guide walks through both paths so you can decide which fits your closet.
DIY or professional installation: how to decide
| DIY modular kit | Professional custom installation | |
|---|---|---|
| Best for | Square reach-in closets, renters, tight budgets | Walk-ins, odd shapes, sloped ceilings, drawers |
| Design | You plan around standard component sizes | Designed to the closet’s exact measurements |
| Fit | Gaps where standard widths do not match the wall | Panels cut to fill the space |
| Materials | Varies widely by kit | Typically furniture-grade 3/4 inch boards, adjustable shelving, soft-close drawers |
| Your time | A weekend or more, plus trips to the store | A consultation, a design review and the installation |
| Risk | Mounting and measuring errors are on you | Measuring and mounting are the installer’s job |
DIY tends to go well when the closet is a simple box and you are installing shelves and rods. It goes poorly in plaster walls, closets with a slanted ceiling, or anywhere drawers have to clear bifold or sliding doors. For a sense of what a custom closet costs compared with a kit, see our custom closet cost guide.
Tools you need to install a closet system yourself
- Tape measure, pencil and paper
- 4-foot level (a laser level helps in walk-ins)
- Stud finder
- Drill and driver with the bits your system calls for
- The mounting hardware specified for your wall type
- Step ladder and a helper for long rails and tall panels
Step 1: Inventory what the closet has to hold
Empty the closet and sort everything into groups: long-hang (dresses, coats), short-hang (shirts, folded pants), folded items, shoes, bags and accessories. Set aside anything to donate or store elsewhere.
Then count. Measure the inches of rod your long-hang and short-hang items take, and how many folded stacks you have. These numbers decide the mix of rods, shelves and drawers far better than a picture on a box.
Step 2: Measure the closet and mark obstacles
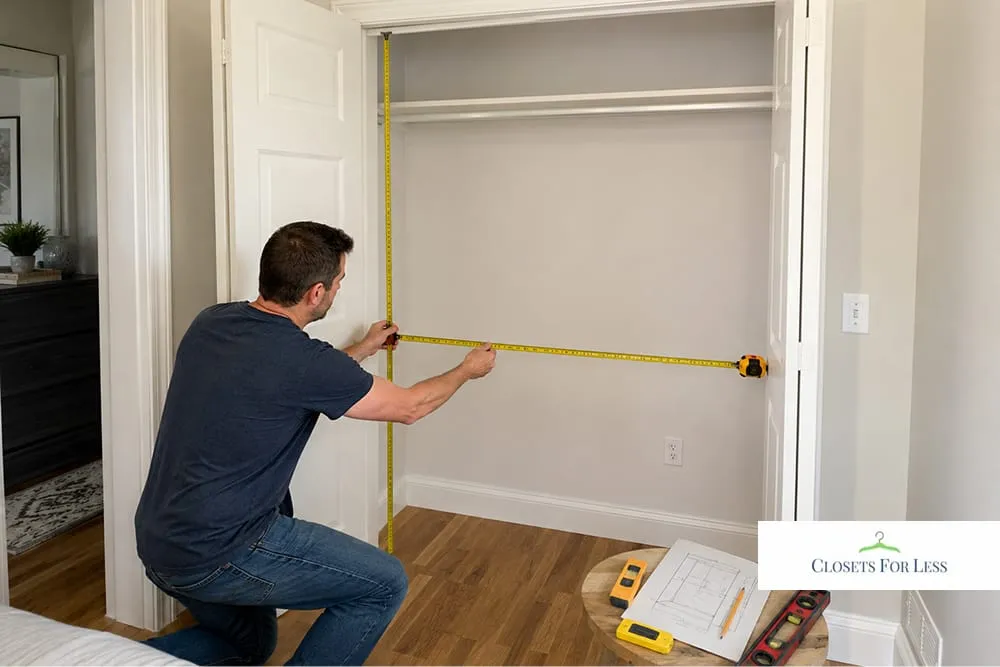
Measure width, depth and height at more than one point; walls are rarely perfectly square. Then mark everything that affects the layout:
- Door swing and the clear width of the door opening
- Baseboard and trim thickness
- Outlets, switches, vents, access panels and windows
- Sloped ceilings or soffits
- Stud locations
Sketch the closet from the front and from above with all of it noted. If drawers are planned, confirm they sit inside the door opening and can open fully.
Step 3: Choose the system
- Freestanding towers suit renters and closets where you cannot drill. They take floor space.
- Modular rail systems hang from a rail screwed into studs, with adjustable shelves and rods. Good for straightforward reach-ins.
- Custom systems are designed to the closet’s dimensions with the drawers, shelves and finishes you choose, and suit any shape.
If you are working in a small reach-in closet, prioritize double-hang and a short drawer stack. In a walk-in closet, plan each wall for a job: long-hang on one, double-hang on another, drawers and shoes on the third.
Step 4: Plan the layout
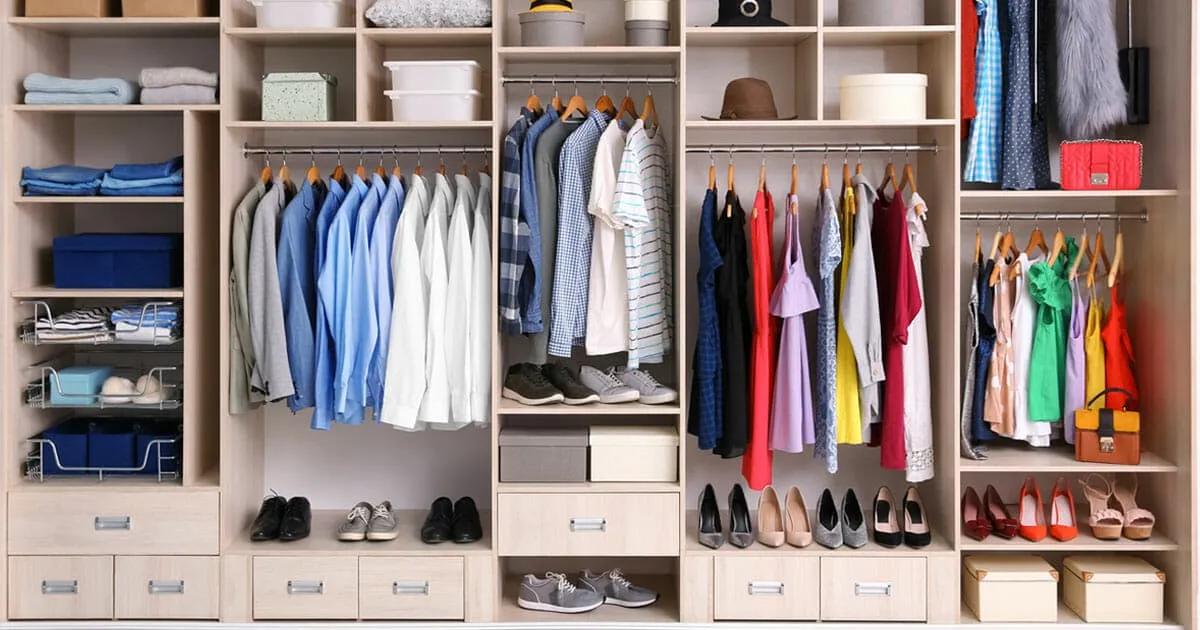
- Everyday clothes between waist and eye level.
- Double-hang for shirts and pants, about 40 inches per rod; long-hang for dresses and coats, about 60 to 70 inches.
- Drawers for folded items and accessories, placed within the door opening.
- Seasonal items and luggage on the top shelf.
- Shoes low, on shelves rather than the floor.
If your closet is short on rod space, our guide to maximizing a closet with little hanging room has more layouts, and our guide to closet drawer systems covers drawer sizes.
Step 5: Install and level
- Mark a level reference line at the height your system specifies.
- Mount the main supports (rail, standards or panels) into studs or with the anchors your system approves for your wall type.
- Add shelves and rods, checking level as you go.
- Install drawers and accessories in the order the instructions give.
Thick baseboards, out-of-plumb walls and plaster are where DIY installs most often go wrong. If parts will not sit as designed, stop and check the instructions or call a professional before cutting or forcing anything.
Step 6: Load gradually and check
Fill the closet a section at a time and stay within the load ratings. After a few days, recheck that shelves are level, rods have not dipped and nothing has pulled away from the wall. Tighten anything loose before it becomes a sag.
When to hand it to a professional
Call a pro when the closet is a walk-in or an odd shape, the walls are plaster or out of square, you want drawers or a closet built around the way you dress, or you simply do not want to spend the weekend on a ladder. A free in-home consultation is followed by a design measured to your closet and an estimate, and you can review both before you commit to anything.